How To Do A Waterless Manicure
Table of Contents
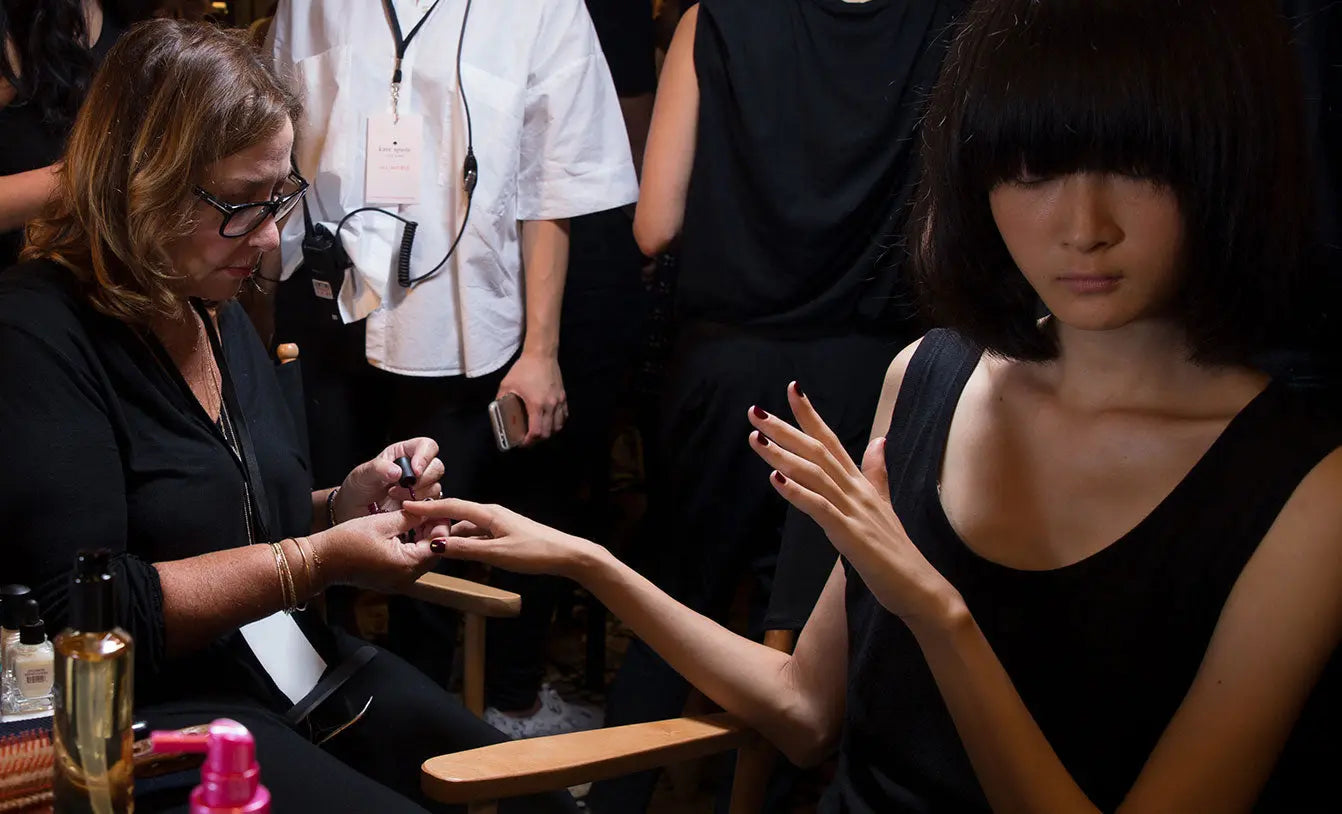
What is a Waterless Manicure?
Simply put, it's the same as a standard salon mani, but without the water. It comes in handy for me on the set or backstage at Fashion Week.
What are the benefits of a Waterless Manicure?
Waterless manicures are more hygienic and sustainable. Water contains bacteria, and if mixed with soap, can be destructive to your nails. They take less time and can be done almost anywhere!
How To Do A Waterless Manicure
Cleanse the nails
Remove nail polish using The Stripper Lavender Nail Lacquer Remover. An award-winning, fast-acting nail polish remover infused with lavender essential oil and aloe vera extract to help keep nails moisturized. No white chalky residue.
Saturate a piece of cotton and gently hold on one nail, count to 5 and pull forward in an “S” shape to get the polish out of corners. Press lightly as you approach the tip to avoid straining or breaking the free edge. Repeat on the other 9 nails.
Shaping the Nails
Shape the nails into desired nail shape using the Deborah Lippmann Eco-File – a 240-grit emery board made of recycled paper.
Start from the outside edge of the nail filing toward the center, always in one direction. Never “saw” back and forth! Place the file along the nail sidewall and gently file parallel to the finger first and then gently from the outer edge of the nail and towards the center of the nail tip. Leave at least 1/8” of the nail straight along the sidewall before shaping the tip to the desired shape.
Repeat on both sides of the nail until the desired shape is achieved.
Using a Nail Buffer
Use sides 1 through 3 of the Smooth Operator 4-Way Nail Buffer on all nails to shape, smooth, buff, and shine. This buffer helps color adhere to the nail plate and extend the wear of your polish. It is very gentle and won’t leave scratch marks on your nails.
Gently dust the entire surface of each nail with each fabric 1, 2, and 3. Only use fabric #4 if you want a high gloss shine without the need for any nail polish. Never angle the Smooth Operator downwards towards the nail tip or apply too much pressure towards the tip which would put a strain on your free edge.
- Side 1 – Coarsest side targets extreme nail ridges and bumps.
- Side 2 – Refines nail ridges and bumps.
- Side 3 – Smooths nail surface.
- Side 4 – Provides high-shine gloss without lacquer.
Using a Cuticle Remover to Exfoliate
Apply Cuticle Remover Exfoliating Cuticle Treatment liberally to each cuticle. Infused with Potassium Hydroxide, it helps loosen, soften and exfoliate dry and dead cuticles. No waiting or soaking is necessary.
- Using the arched end of my custom Cuticle Pusher – a perfectly shaped stainless steel cuticle pusher that fits the natural curve of the nail - gently push cuticles back toward the knuckle. Make small circular movements when working from corner to corner. The opposite end is to help target more stubborn cuticle build-up. *Nothing should ever be remotely painful or even uncomfortable when pushing cuticles back. Remove any excess product with a clean towel.
Use the Cuticle Nipper to carefully remove any loose pieces of hanging skin that may be left after a proper cuticle pushing:
- When using a cuticle nipper, eyeball the piece of skin that is sticking out. Align the nipper on that piece of skin and clamp the cuticle nipper. Release the nipper.
- Never pull the skin off when releasing the cuticle nipper.
Using the Hand Scrub
Apply a quarter-size amount of Marshmallow Whipped Hand & Cuticle Scrub with AHA & BHA on the top of one hand and rub in a circular motion for 30 seconds. Repeat with the other hand. Wipe away the remaining product with a wet wipe or towel.
This unique whipped hand scrub that combines AHA and BHA fruit and plant acids along with Perlite – biodegradable volcanic ash – helps lift dead skin cells and clear pores revealing brighter, glowing skin. Infused with the cooling and soothing properties of Marshmallow Root Extract, it helps calm irritated skin while Glycerin and Coconut Oil deeply moisturize. Hands and cuticles feel softer, smoother, and younger-looking at first application.
Hydrate your Cuticles with Cuticle Oil
Apply a tiny drop of Cuticle Oil Hydrating Cuticle Treatment at the base of each nail and massage it into the cuticle. Infused with Coconut Oil and Vitamin E-rich Jojoba Seed Oil, it deeply penetrates cuticles to help soften, heal and protect dry, cracked cuticles. Leaves cuticles feeling softer and moisturized.
Moisturize Your Hands
Apply Rich Girl SPF 25 Hand Cream on each hand and up to the elbows. Perform a massage on the cuticle area. This will help increase blood circulation to the nail matrix area (area between the first knuckle and under your cuticle) and in turn help stimulate cell regeneration. This award-winning SPF 25 hand cream has broad-spectrum UVA and UVB protection to help prevent premature skin aging and burns to the skin. It is infused with Shea butter, Avocado, Jojoba oil, and Cyclomethicone to provide continued comfort and hydration.
Nail Preparation and Nail Polish Application
Apply 1 drop of 2 Second Nail Primer Cleansing Prep about 2” above the center of each nail and wipe dry. This fast-evaporating primer instantly removes dirt, oil, and any residue for a longer-lasting manicure.
If not applying nail polish, use side #4 of Smooth Operator 4-Way Nail Buffer to buff to a high shine and to give nails a natural, high gloss.
Deborah Lippmann Nail Polish technique:
Apply 1 coat of Deborah Lippmann Gel Lab Pro base coat and allow 2 minutes to dry. This healthy alternative to gel manicures delivers extended wear and a cushiony plumped look to ANY nail polish without UV lamps, tools, or nail damage. It is easy to remove with any polish remover. No soaking or scraping nails ever again. In a consumer study, 97% of participants saw longer wear, longer-lasting shine, and salon-quality results.
Base coats help the color adhere to the nail plate and provide longer-lasting wear to any nail polish. They also prevent nails from becoming stained especially when using dark colors.
Other Deborah Lippmann base coats include Hard Rock (nail strengthener), All About that Base (CC base coat), and Genie In A Bottle (nail tone perfector).
- Apply a thin layer starting with one stroke down the center of the nail.
- Apply one stroke down each side of the nail.
- Take the very tip of the brush and cap the edge of the nail to finish.
- Apply 2 thin coats of Deborah Lippmann nail polish color and allow 2 minutes to dry in between each coat. You must allow the solvents in the polish of each coat to evaporate completely before applying the next coat. This promotes longer wear and less chipping!
- To finish, apply 1 thin coat of Deborah Lippmann Gel Lab Pro top coat and allow 5 minutes to dry. It is imperative that drying time is respected to allow polymers to evaporate. If the manicure is rushed, users may find bubbles or color may peel off in a sheet, not adhering to the nail properly.
Other Deborah Lippmann top coats include Hard Rock (nail strengthener) and Addicted To Speed (fast-drying top coat) and High & Dry (super-quick dry top coat with hemp seed extract).
- Apply 1 or 2 drops of The Wait Is Over (quick dry drops) about 2” above the center of each nail and wait a few seconds to dry. This fast-evaporating formulation with special conditioning agents form a protective barrier on the nail that dramatically accelerate nail polish drying time to promote flawless-looking manicures.
- Massage a small amount of The Cure Ultra Nourishing Cuticle Repair Cream to the surrounding cuticle area of each nail. Infused with a powerful dose of patented Raspberry Stem Cell extract, Red Algae, Shea Butter, Sodium Hyaluronate, and vitamins A, C, and E, this luxurious cream instantly relieves dry cuticles as it repairs and protects. Apply frequently throughout the day to maintain softness and prevent dryness.
Share